
Updated Workspace
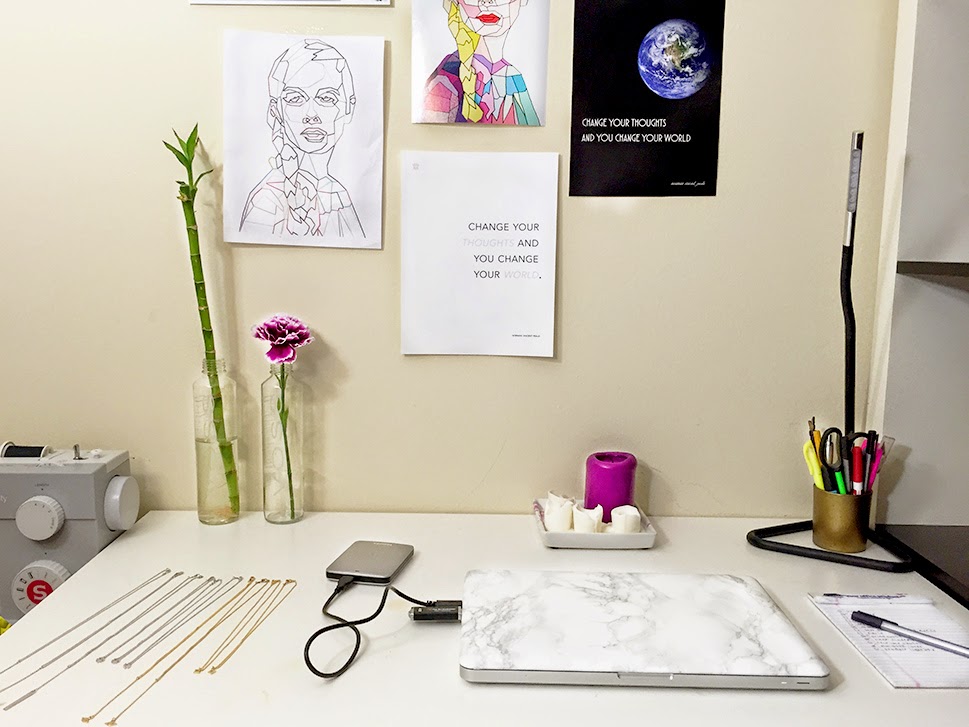

To the right of my laptop, you see my to-do list. As you may know, I'm obsessed with writing to-do lists. If I don't write one, I will definitely not be productive on that day. I just have to map out my day in order for it to run as smoothly as possible. Call me crazy, but to-do lists are my life!
Hope you enjoyed this super impromptu procrastination blog post. I will try my best to post a fashion post sometime next week after my finals!
x Alicia

Photo Diary 1


Super mini photo diary from March 16th, 2015. I've decided that I'll start doing photo diaries on my blog every few weeks. It was 71 degrees today in Chicago so I could finally break out my H&M shoes and leather jacket! Later that evening my mom and I went to Forever 21 for a bit and I picked up these new sunglasses, this sunglasses holder, and illuminating bronzer. It's actually really pretty on when used as a highlighter.
The next photo diary will be a lot more interesting and have more, well, photos!
Alicia

DIY: Marble Laptop Skin
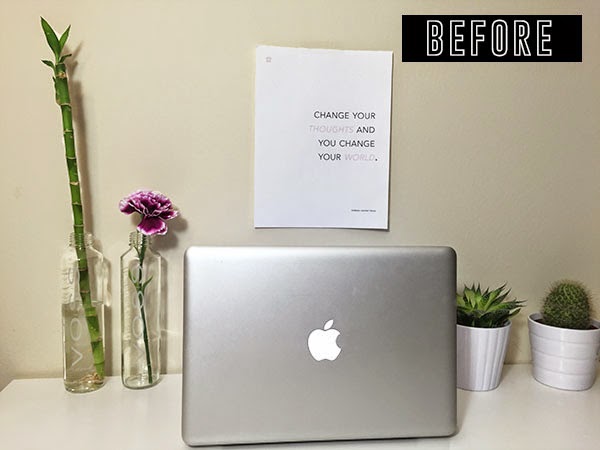

A few months ago I was browsing Pinterest (as always) and stumbled upon a photo of a gorgeous marble MacBook laptop cover. I finally decided to order some marble contact paper to do this DIY myself instead of paying $20 - $30 on the cover. Yay for DIY's!
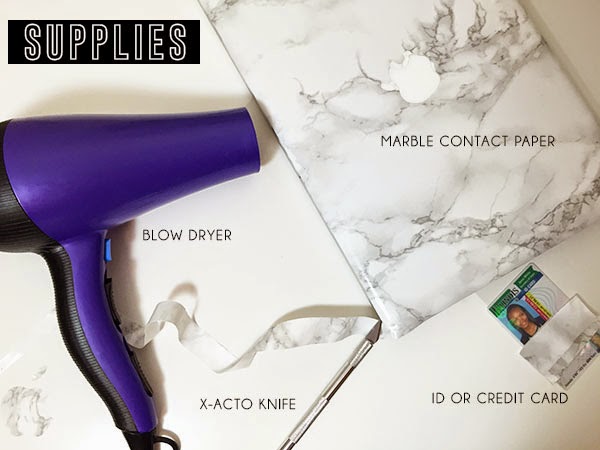
Okay, so here's what you'll need:
Marble contact paper - I got mine here
X-Acto knife - You can purchase one at any craft store!
Blow dryer
Some type of straight edge - I used my ID
Laptop
1. Measure your contact paper to the size of your laptop with an extra inch on each side.
2. Peel off backing and slowly lay it on your laptop. This is where you'll use your straightedge ruler or ID (like I did) to remove the bubbles from the contact paper. It'll take some time!
3. Now you're going to use your x-acto knife and line it up right under the top of the side of the computer. This will ensure that your line will be straight as possible. Don't cut the rounded corners just yet!
4. Next, you'll use your blowdryer to make sure that the sides lay down. Make sure it's set at medium heat, and high speed. Go over each straight edge and use your ID to press the sides flat. When you get to the rounded corners, pull down the extra 1" that you left around the edges and press the edges down flat onto the computer. Now you can take your x-acto knife and cut off the excess contact papers on the rounded corners.
5. Now you can go around the edges again with the blowdryer and ID or just use your finger to smooth it down - just don't burn yourself!
6. So the final step is to cut out the apple in the middle of your computer (if you have a MacBook). To do this, you will make sure your computer is open so the apple is illuminated. Go directly around the edges of the apple, and it'll peel right off with no harm done to your computer. Yay!
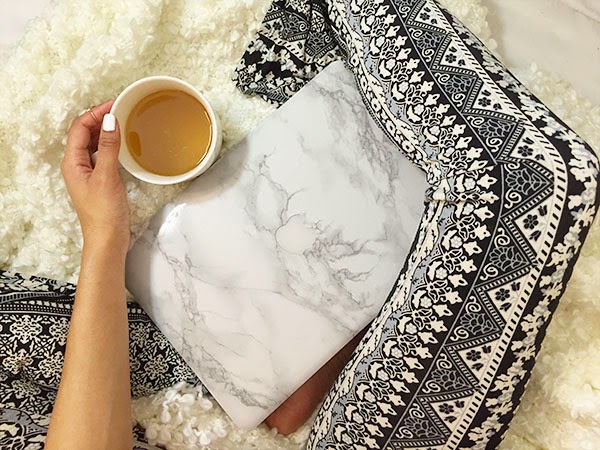
Now, you're finished. Enjoy your new super chic and on trend laptop skin!!
* You can do this with any kind of contact paper. It doesn't have to be specifically marble.
Alicia
I Juice (Occasionally)
 |
| Mandatory artsy faded fruit shot, obvs. |


I decided I wanted to do some juicing for one week last month. Admittedly I only lasted three days, but hey - that's better than one! The first juice I made I decided to snap a few photos of my process, and thought it could be a cool addition to my blog. This juice was a major detox juice. The website I got the recipe from so did not warn me. It was pretty sour due to the lemon juice and green apples, but if I tweak the recipe next time I think it could be a great one. It left me with a major headache and my stomach was making noises no stomach should ever make, but it served its purpose. All hail the mighty green juice!
Subscribe to:
Comments (Atom)


