
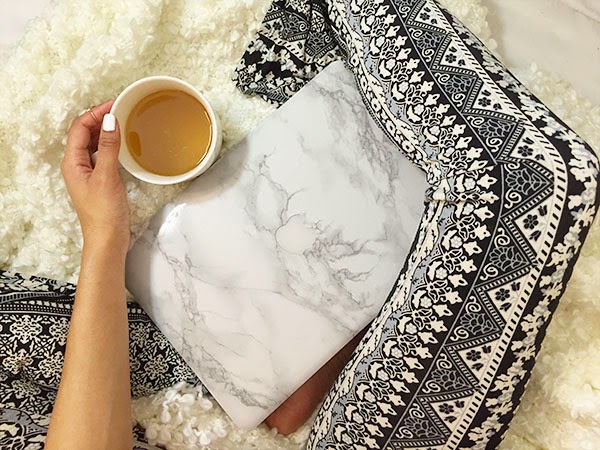

A few months ago I was browsing Pinterest (as always) and stumbled upon a photo of a gorgeous marble MacBook laptop cover. I finally decided to order some marble contact paper to do this DIY myself instead of paying $20 - $30 on the cover. Yay for DIY's!
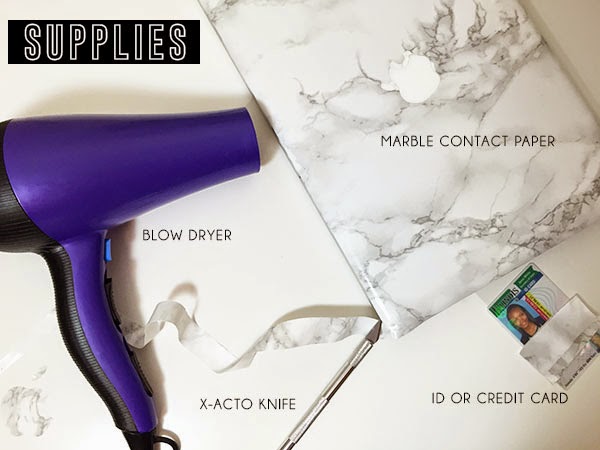
Okay, so here's what you'll need:
Marble contact paper - I got mine here
X-Acto knife - You can purchase one at any craft store!
Blow dryer
Some type of straight edge - I used my ID
Laptop
1. Measure your contact paper to the size of your laptop with an extra inch on each side.
2. Peel off backing and slowly lay it on your laptop. This is where you'll use your straightedge ruler or ID (like I did) to remove the bubbles from the contact paper. It'll take some time!
3. Now you're going to use your x-acto knife and line it up right under the top of the side of the computer. This will ensure that your line will be straight as possible. Don't cut the rounded corners just yet!
4. Next, you'll use your blowdryer to make sure that the sides lay down. Make sure it's set at medium heat, and high speed. Go over each straight edge and use your ID to press the sides flat. When you get to the rounded corners, pull down the extra 1" that you left around the edges and press the edges down flat onto the computer. Now you can take your x-acto knife and cut off the excess contact papers on the rounded corners.
5. Now you can go around the edges again with the blowdryer and ID or just use your finger to smooth it down - just don't burn yourself!
6. So the final step is to cut out the apple in the middle of your computer (if you have a MacBook). To do this, you will make sure your computer is open so the apple is illuminated. Go directly around the edges of the apple, and it'll peel right off with no harm done to your computer. Yay!
Now, you're finished. Enjoy your new super chic and on trend laptop skin!!
* You can do this with any kind of contact paper. It doesn't have to be specifically marble.
Alicia


No comments
Post a Comment